Start with the information before the instructions
Before picking up your hook, read the whole pattern once. Look for the finished size, suggested yarn and hook, any extra materials, and the techniques you will need. A pattern may also give a gauge: a target number of stitches and rows in a measured square. Gauge matters most when the finished size needs to be close to the pattern’s size, as it would for something worn or fitted. For a first practice piece, understanding the instructions is more important than matching a measurement perfectly.
Check whether the pattern uses US or UK crochet terms. Some stitch names are shared but describe different stitches: a US single crochet is called a UK double crochet, for example. Do not guess from the abbreviations alone. Patterns often state their terminology near the top; if one does not, look for clues in its stitch glossary or technique descriptions before starting.
Treat abbreviations as a small working vocabulary
Crochet patterns shorten frequently used words so the directions stay manageable. In US terminology, ch means chain, sc means single crochet, dc means double crochet, and sl st means slip stitch. You may also see st for stitch, sp for space, and rep for repeat. An instruction such as “sc in next st” simply means to make a single crochet in the next stitch.
Keep the pattern’s abbreviation list beside you rather than trying to memorize everything at once. Also notice where a stitch goes. “In next st” asks you to work into a stitch; “in next ch-sp” asks you to work into a space formed by chains. An instruction to work two stitches in the same place usually adds a stitch, while one that combines stitches, often called a decrease, reduces the count. Read the pattern’s explanation of a decrease before attempting it, since the steps depend on the stitch.
Read repeats like a set of directions within directions
Symbols group instructions that you will work more than once. For example, “(sc, ch 1) 4 times” means make a single crochet followed by one chain, then repeat that pair until you have done it four times. An asterisk may mark the beginning of a repeat: “*sc in next st, ch 1; rep from *” tells you to return to the asterisk after the chain. Brackets can also group a sequence, though each pattern may use them slightly differently. Follow the pattern’s own notes if it defines its symbols.
Pay attention to where a repeat ends. “Repeat to end” means keep going until you run out of the stitches the sequence needs; a pattern may then give a separate instruction for the final stitch. If a line feels overwhelming, cover everything after the first repeat, work that small group once, and then read what comes next.
Follow rows, rounds and stitch counts
A row is worked across a piece and is commonly followed by a turn. A round travels around a shape. Some rounds are joined at the end with a slip stitch; others continue in a spiral. The pattern should tell you which method to use and where the next round begins. A stitch marker can help you find that point, even if you are using something as simple as a short piece of contrasting yarn.
Numbers in parentheses at the end of a row or round often give the stitch count you should have when it is complete. That number is a useful checkpoint, not another instruction to crochet. Check it before moving on. Turning chains deserve particular attention: one pattern may count them as stitches, while another may not. Follow its note on this point, because counting a turning chain differently can shift the rest of the row.
Practice by translating one line at a time
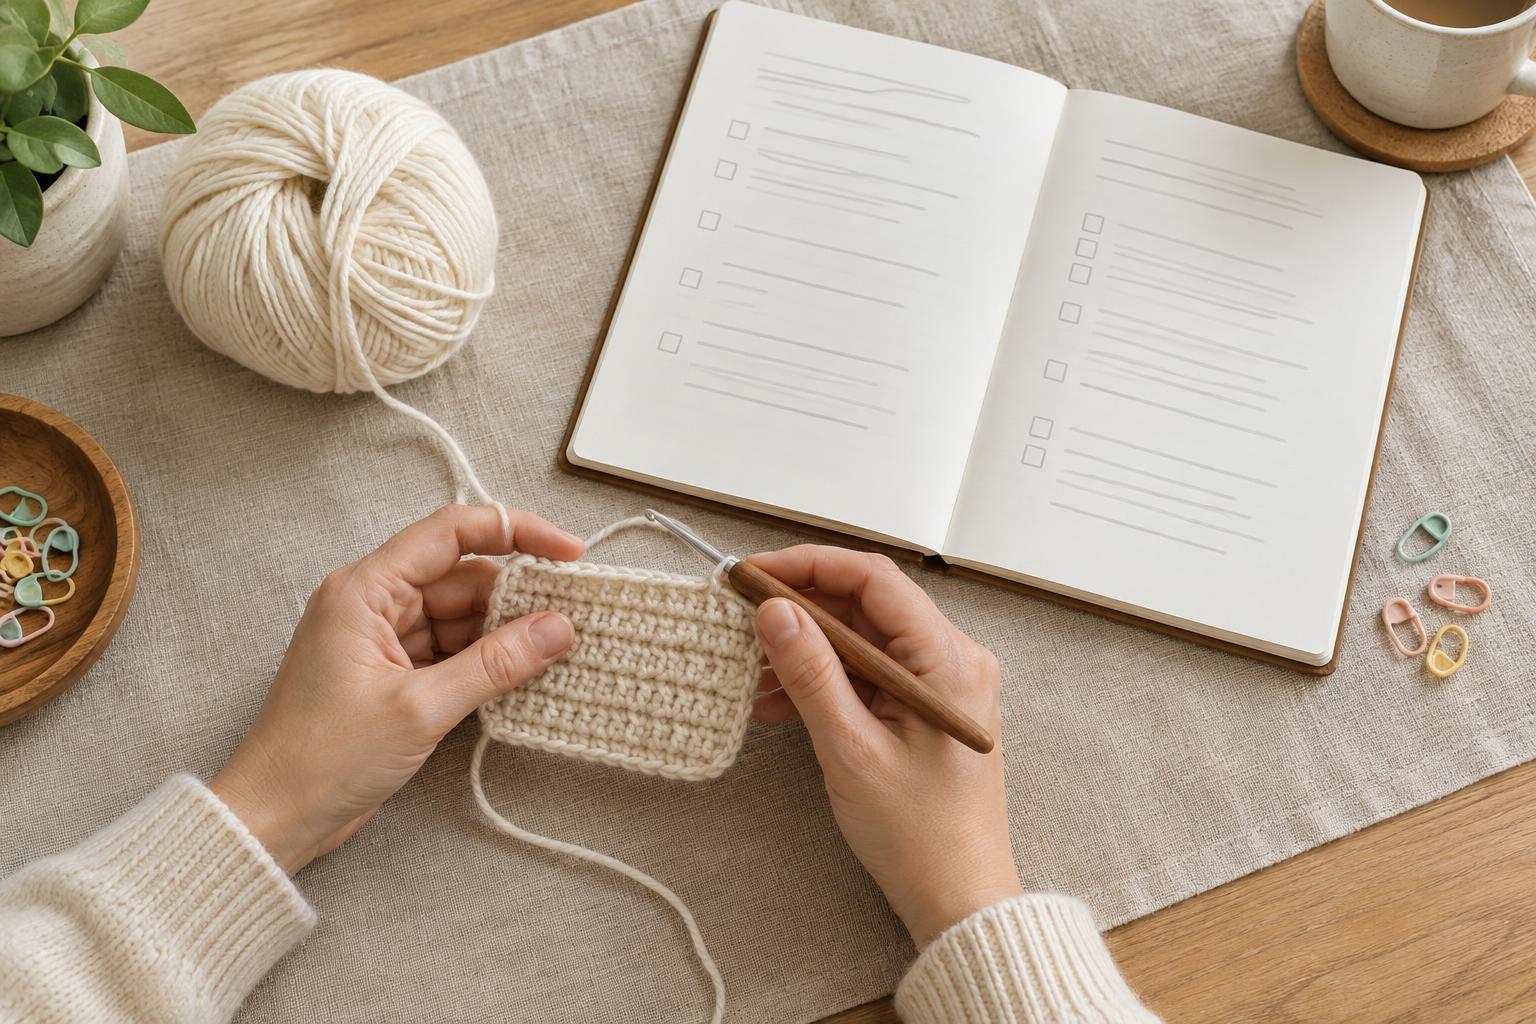
Here is a small practice example in US terms. “Ch 12. Row 1: Sc in second ch from hook and in each ch across. (11 sc) Row 2: Ch 1, turn, sc in each st across. (11 sc) Rep Row 2 for Rows 3–8.” First, make 12 chains. Skip the chain nearest your hook, then work one single crochet into each of the remaining 11 chains. For Row 2, make one chain, turn your work, and make 11 single crochets across. In this example, the turning chain does not count as a stitch.
Work Row 2’s directions again for each row numbered 3 through 8. You can mark off a row as soon as you finish it. If your count changes, pause and inspect the row you just made, especially its first and last stitches. Reading a pattern gets easier when you translate each short instruction into an action, check the result, and only then move to the next line.