Choose flowers that will dry well
Flower pressing is a simple way to save a small part of a walk, a garden afternoon or a meaningful bouquet. You do not need special equipment to begin: a heavy book, absorbent paper and a little patience are enough. Before collecting flowers outdoors, make sure you have permission to pick them. Avoid unfamiliar plants that may irritate your skin, and leave flowers for others to enjoy when they are scarce.
For your first attempt, choose small, relatively flat flowers or individual petals. Thin blooms and leaves are easier to press evenly than thick, fleshy ones, which hold more moisture and may brown or develop mold. Pick specimens that are dry to the touch, ideally after any dew or rain has evaporated. Look for clean petals without torn edges, then press them as soon as you can; flowers left in a bag or on a table may wilt before you arrange them.
Set up a simple book press
Gather a heavy book you do not mind protecting, two sheets of plain absorbent paper for each layer, and a few more books to stack on top. Printer paper can work, though blotting paper or uncoated paper may absorb moisture more readily. Avoid placing flowers directly against book pages, especially in a book you value: moisture and plant pigments can leave marks. You can also put a piece of cardboard outside each paper sandwich for extra protection.
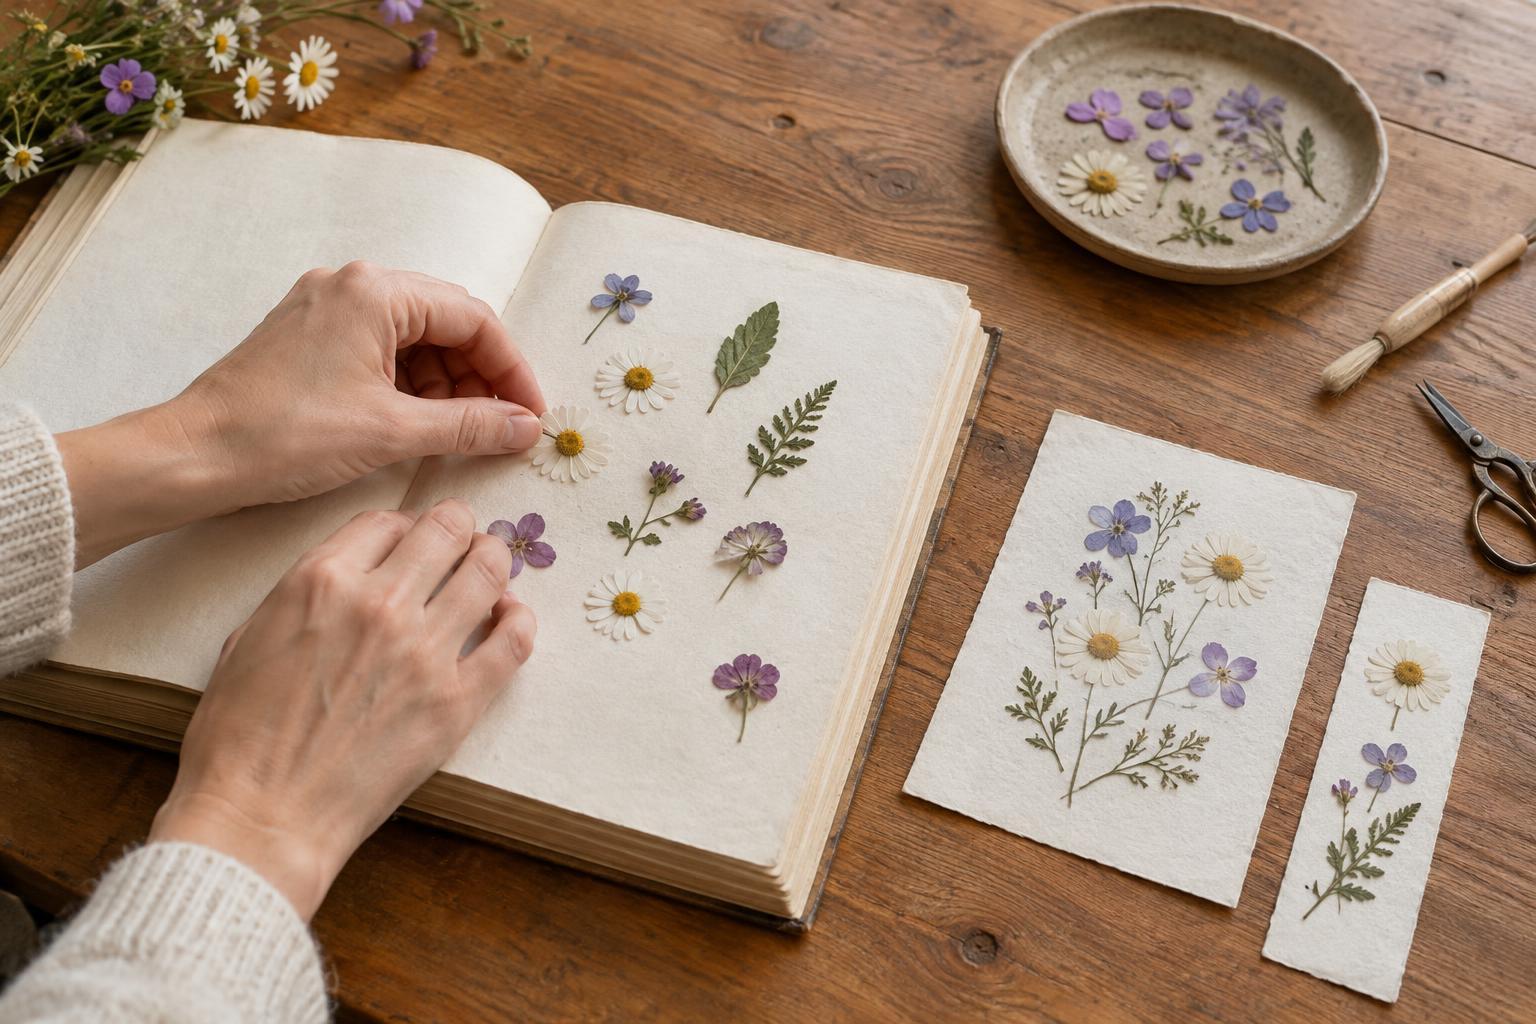
Lay one sheet of paper on a flat surface and arrange the flowers face down or sideways, depending on the silhouette you want. Gently spread overlapping petals with clean, dry fingers. Leave space between specimens so they do not stick together, then cover them with the second sheet. Slide the sandwich between pages near the middle of the book. Close it slowly, check that nothing has shifted, and add weight on top. If you press several layers in one book, leave a generous number of pages between them.
Let moisture escape before crafting
Keep the book in a dry place where it will not be disturbed. Drying time varies with the flower, the paper and the room, so check after several days rather than relying on a fixed schedule. If the sheets feel damp, replace them carefully with fresh, dry paper. Frequent opening can disturb delicate petals, but an occasional check helps you catch moisture before it causes problems. Discard any specimen that smells musty or shows signs of mold.
A flower is ready for paper crafts when it feels dry and papery, with no cool or soft spots around its center or stem. Lift it gently with your fingertips or tweezers, supporting larger petals as you go. Some colors will deepen, fade or change as they dry; that variation is part of the material rather than a sign that you did something wrong. If a flower is still flexible and damp, return it to fresh paper and give it more time.
Attach pressed flowers to paper
Start with a sturdy base such as cardstock, a bookmark blank or a journal page. Before applying adhesive, arrange your flowers and take a quick photo of the layout so you can rebuild it if anything moves. A tiny amount of clear-drying craft glue, placed on the sturdier parts of a flower with a small brush or toothpick, is often enough. Press lightly with clean paper over the top while the glue sets, following the adhesive’s directions. Too much glue can soak through petals or wrinkle the paper.
For a cleaner, protected surface, try enclosing a fully dried flower between sheets of clear self-adhesive film, or beneath a clear sleeve attached to your paper project. Test your method with an extra specimen first: delicate petals can tear when repositioned, and adhesives may change their appearance. If you plan to write or draw around the flowers, do that before attaching them so your hand does not brush across the finished arrangement.
Store extras and keep projects looking their best
Store unused pressed flowers flat between clean sheets of paper in a labeled folder or box. Keep them away from moisture and strong light, which can encourage damage or fade their color over time. Labeling by color or plant type can make it easier to find a match when you are making a card in a hurry. Handle each piece as little as possible; even a well-pressed flower remains fragile.
Try one small project before filling a whole page. A single bloom can anchor a greeting card, while a few leaves can frame a handwritten note. Experiment with spacing, paper color and simple shapes, leaving room for the flower to be the focus. The aim is not to preserve every petal perfectly. It is to make something useful and personal from materials you might otherwise have enjoyed for only a day.