Start with a small, simple project
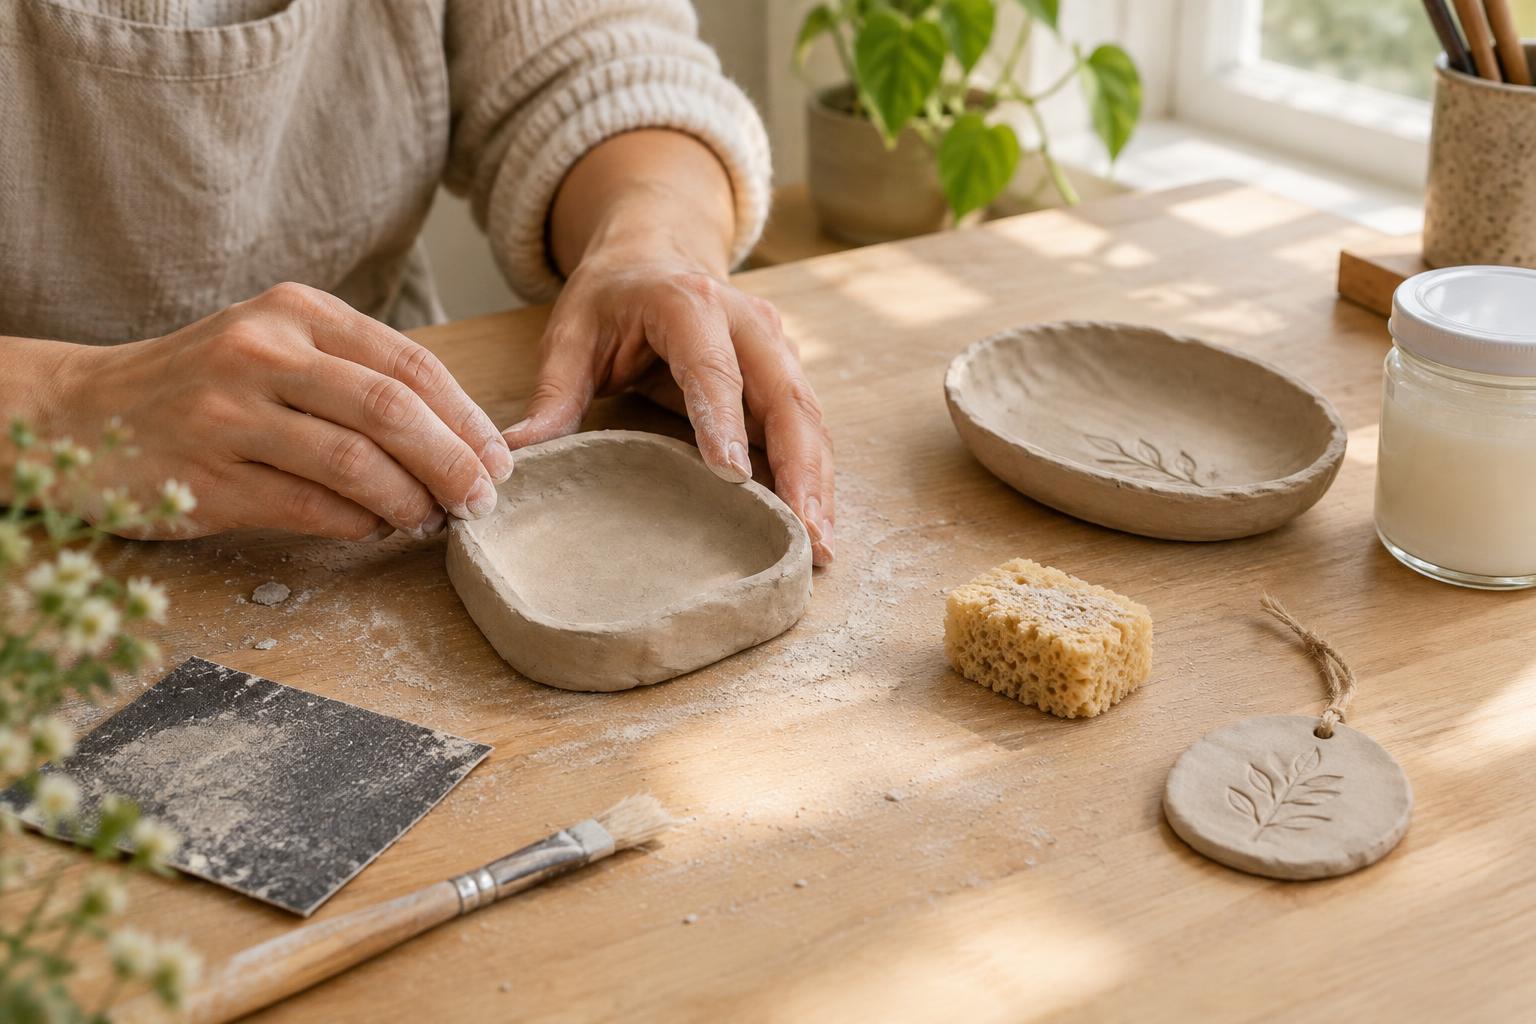
Air-dry clay is a friendly material for an afternoon of making: you can shape it by hand, use ordinary household tools and let it harden without a kiln. A shallow trinket dish, a hanging ornament or a set of decorative tags makes a good first project. These shapes are easier to dry evenly than a thick sculpture, and each gives you room to try texture, lettering or color.
Before you begin, check the instructions on your clay package. Drying times and recommended thicknesses vary by product. Gather a smooth work surface, a rolling pin or straight-sided bottle, a small bowl of water, a blunt knife or clay tool, and a piece of cardboard or other flat surface for drying. Cover your table if needed, and keep unused clay wrapped tightly so it does not stiffen while you work.
Shape the clay without rushing
Knead a small portion until it feels workable, then roll it to an even thickness. For a dish, cut a circle using a bowl as a guide and gently lift the edge to form a shallow rim. For ornaments or tags, cut simple shapes and make any hanging holes now. Use a straw or similar tool to leave a hole large enough for string once the clay has dried and been painted.
Keep the design uncomplicated and avoid very thin edges, which may be more likely to chip. To add texture, press a piece of fabric, a leaf or a clean household object lightly into the surface, then lift it away carefully. Smooth rough spots with a fingertip and a little water, using just enough to blend the surface rather than soak it. If a shape starts to sag or stretch, set it down and adjust it gradually instead of pulling at it.
Give each piece time to dry
Place finished pieces on a flat surface where they can remain undisturbed. Let them dry according to the package directions, remembering that thicker areas may take longer. Avoid trying to speed things up with strong heat unless the manufacturer specifically recommends it; uneven drying can contribute to cracks or warping.
Check the underside before moving on to finishing. If the top feels firm but the bottom still seems cool or soft, it needs more time. When a piece is sturdy enough to handle, turning it over can help the underside dry. A shallow dish may not sit perfectly flat at first, so handle it gently and resist pressing it back into shape once it has begun to harden. Waiting is less exciting than shaping, but it makes painting and sealing much easier.
Smooth, paint and seal the surface
Once the clay is completely dry, inspect the edges. You can smooth minor roughness with fine sandpaper if your product instructions allow it. Work gently and follow the package’s dust-safety guidance; wet-smoothing with a barely damp sponge, when suitable for the clay, may help keep dust down. Wipe away residue and let the piece dry again before applying color.
Acrylic paint is a straightforward choice for decorative pieces. Try a solid color, a painted rim or a few small marks rather than covering every detail. Let each coat dry before adding another. If you want a protective finish, choose a sealer compatible with both your clay and paint, and follow its directions for application and curing. A sealer can help protect the surface from ordinary handling, but it does not necessarily make air-dry clay waterproof or safe for food.
Make pieces you will enjoy using
Think of finished air-dry clay objects as decorative rather than heavy-duty. A small dish can hold keys, hair clips or other dry items; tags can brighten a wrapped gift or hang on a wall. Unless the product explicitly says otherwise, avoid using the clay for serving food, holding water or placing outdoors. Keeping pieces away from prolonged moisture will help them stay in good condition.
Your first attempt does not need a perfectly smooth edge or an identical finish on every piece. Make two or three versions of the same shape and notice what changes when you roll the clay more evenly, simplify a rim or use less water. That small experiment gives you useful practice—and a set of handmade objects with their own character.