Start with what you already have
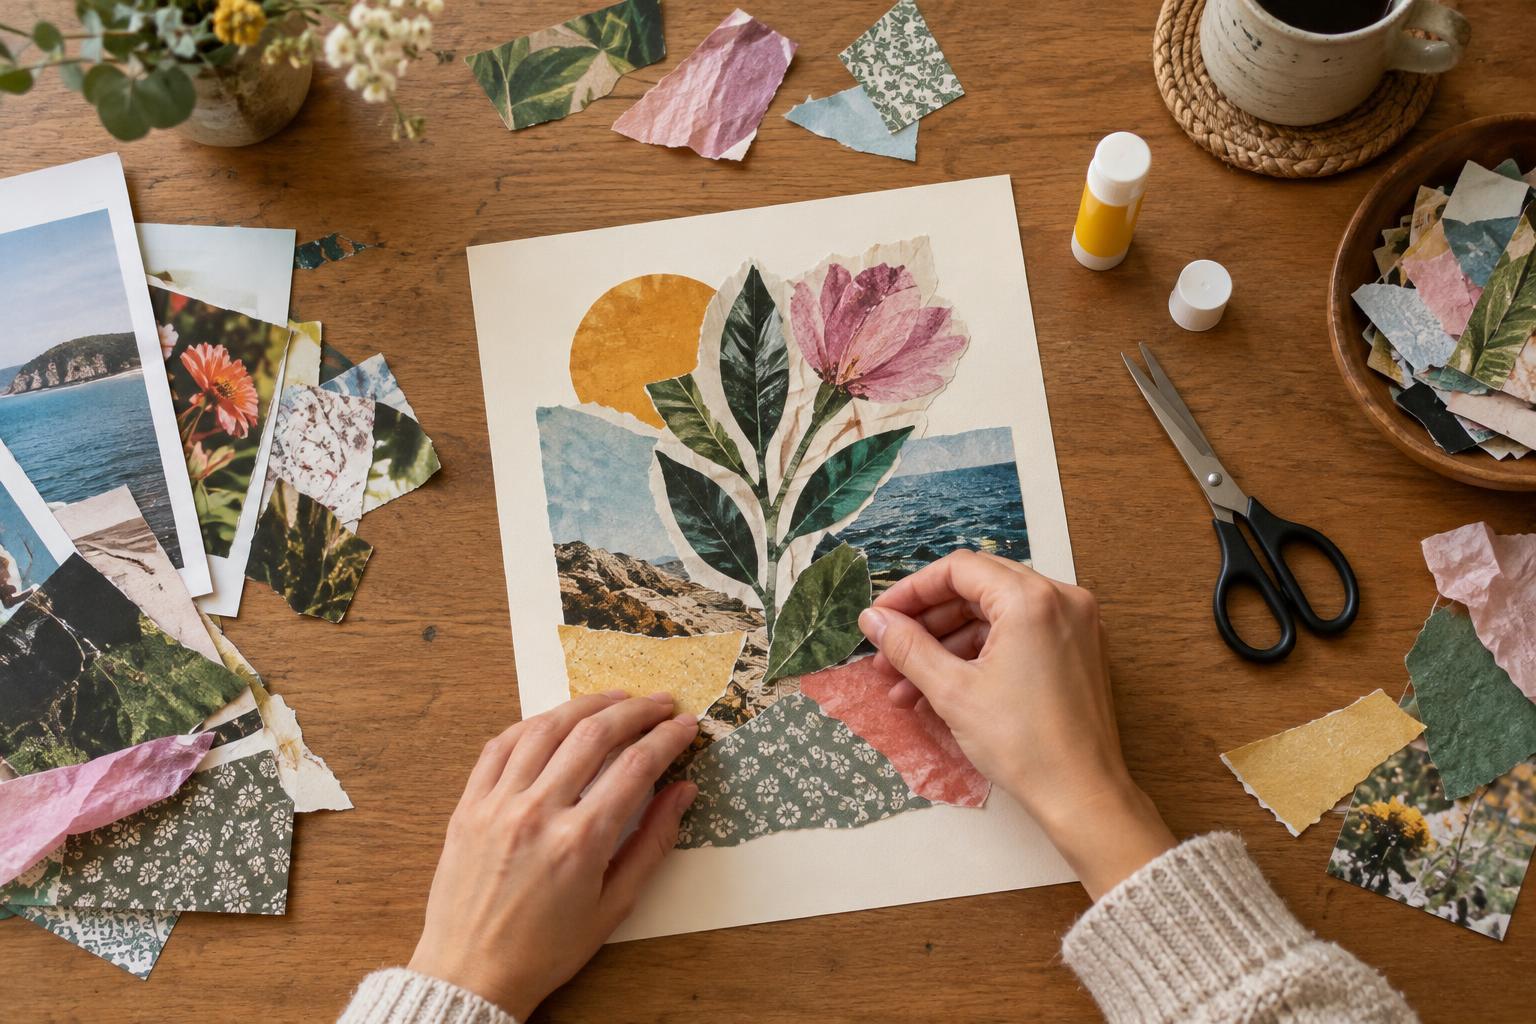
Paper collage is a creative project that does not require a drawing skill or a large supply kit. You make an image by selecting, cutting and layering pieces of paper on a surface. The pieces can be recognizable pictures, blocks of color, words or textures. An old magazine and a few scraps from your desk are enough to begin.
Gather a sturdy sheet of paper or thin card for the background, scissors, and a glue stick. Then look for materials you would otherwise recycle: magazine pages, envelopes, wrapping paper, ticket stubs or clean packaging. Choose scraps you are comfortable cutting up, and keep anything sentimental aside until you know where it might fit. If your materials are limited, a small collage the size of a postcard can feel just as complete as a large one.
Pick a loose direction
Before you cut, give yourself a starting point rather than a strict plan. You might choose a mood, such as calm or playful; a palette, such as blues and warm neutrals; or a subject, such as a garden or an imaginary room. This small decision makes it easier to sort through busy magazine pages. It also gives you a way to decide which appealing pieces do not belong in this particular collage.
Flip through your materials and pull out pages that catch your eye. Look beyond the main photograph: a corner of sky can become a background, a patterned shirt can supply texture, and a large letter can become a graphic shape. Tear out promising pages first, then cut more carefully once you can see your options together. Aim for a manageable pile rather than trying to use every good find.
Build the arrangement before you glue
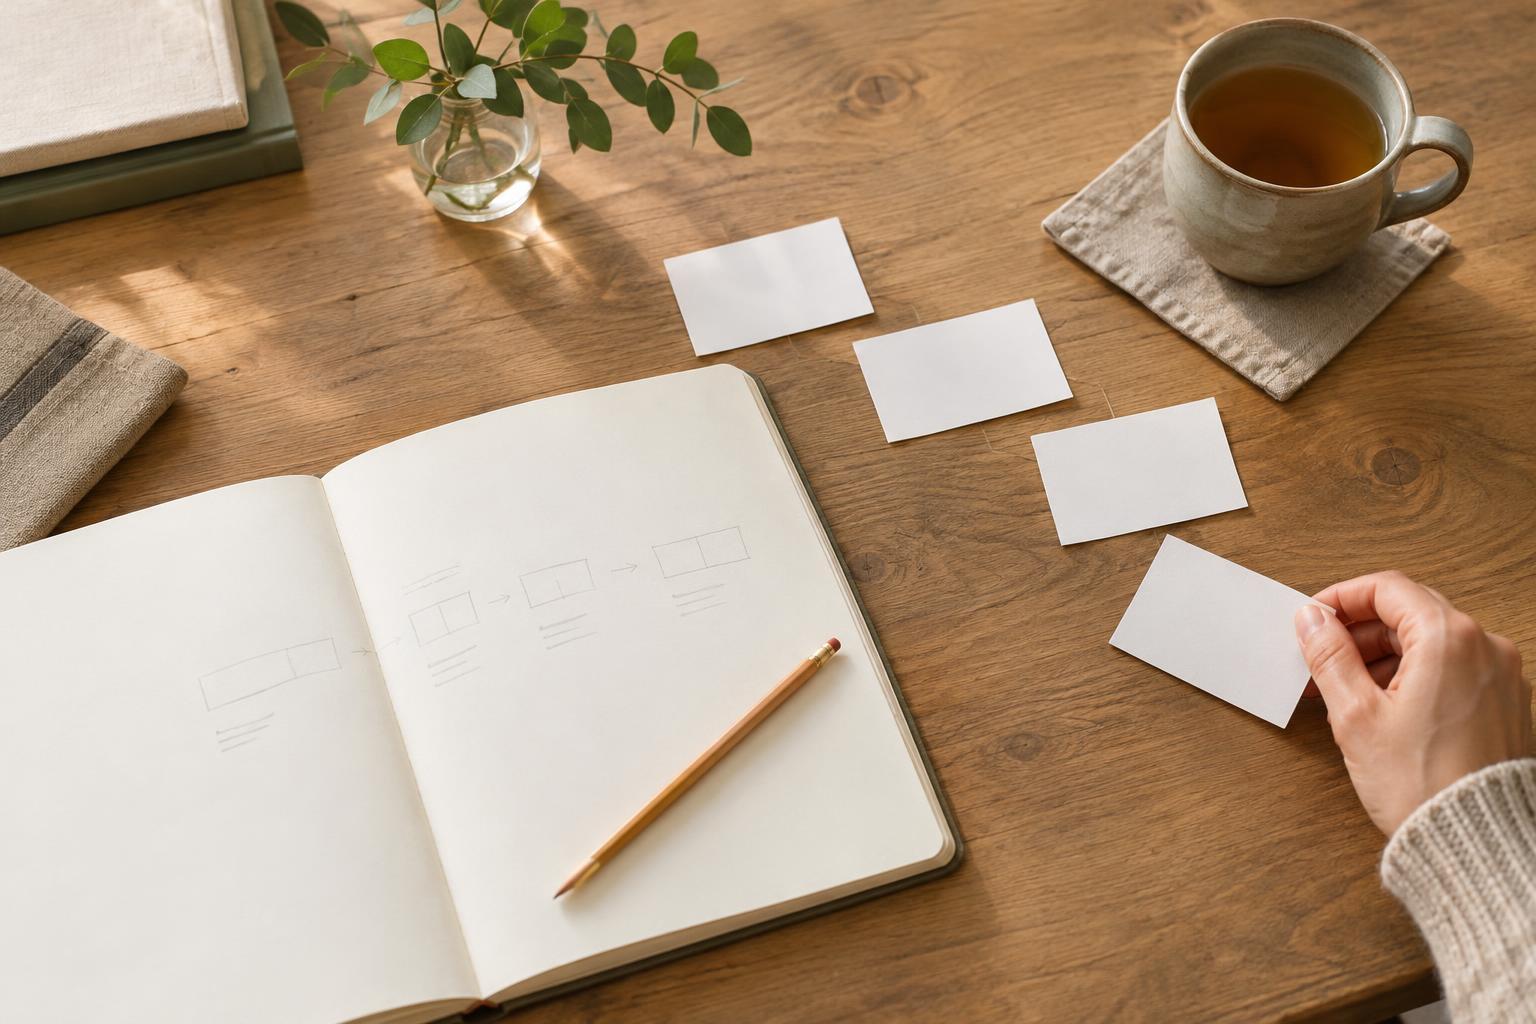
Place your background on a clear table and lay pieces on top without attaching them. Start with one or two larger shapes to establish the composition, then add smaller pieces. Overlap edges to connect unrelated images, or leave some of the background visible to give the eye a place to rest. Moving one piece a few times is often more useful than cutting ten new ones.
If the layout feels scattered, try repeating something: a color, a curved edge or a type of image. You can also make one piece the focal point and let the others support it. A single photograph, word or bold shape can anchor a collage even when the surrounding scraps are varied. Step back from the table occasionally to see whether your eye has a natural place to land.
There is no need to fill every gap. Open space can make a small collage feel intentional, while closely packed layers can create energy. Try both by rearranging your pieces before committing to glue. Take a quick photo of an arrangement you like if you want a reference while you work.
Glue in layers
Once you are happy with the rough layout, move the loose pieces aside in groups or stack them in the order you plan to use them. Attach the background pieces first, applying glue to the back of each one from the center toward the edges. Press it down gently, then add the next layer. A sheet of scrap paper underneath your work area will catch excess glue.
Thin magazine paper may wrinkle if it gets very wet, so use a light, even amount of glue rather than soaking it. If a corner lifts, add a little more glue underneath and press it flat with a clean finger or scrap of paper. Small misalignments are part of working with cut pieces; they rarely matter as much as they seem to when you are looking at the collage up close.
Add a personal finish
When the main pieces are secure, decide whether the collage needs anything else. You might add a handwritten word, draw a line that links two images, or place a tiny contrasting shape near the focal point. Alternatively, stop as soon as the arrangement feels balanced. Adding more is a choice, not a requirement.
Let the collage dry flat before putting it in a notebook, propping it on a shelf or giving it to someone. Save leftover cutouts in an envelope for another session; a small collection of useful colors and textures makes the next start easier. The pleasure of collage lies in noticing new possibilities in familiar paper, then seeing what happens when you put the pieces together.