Start with one small idea
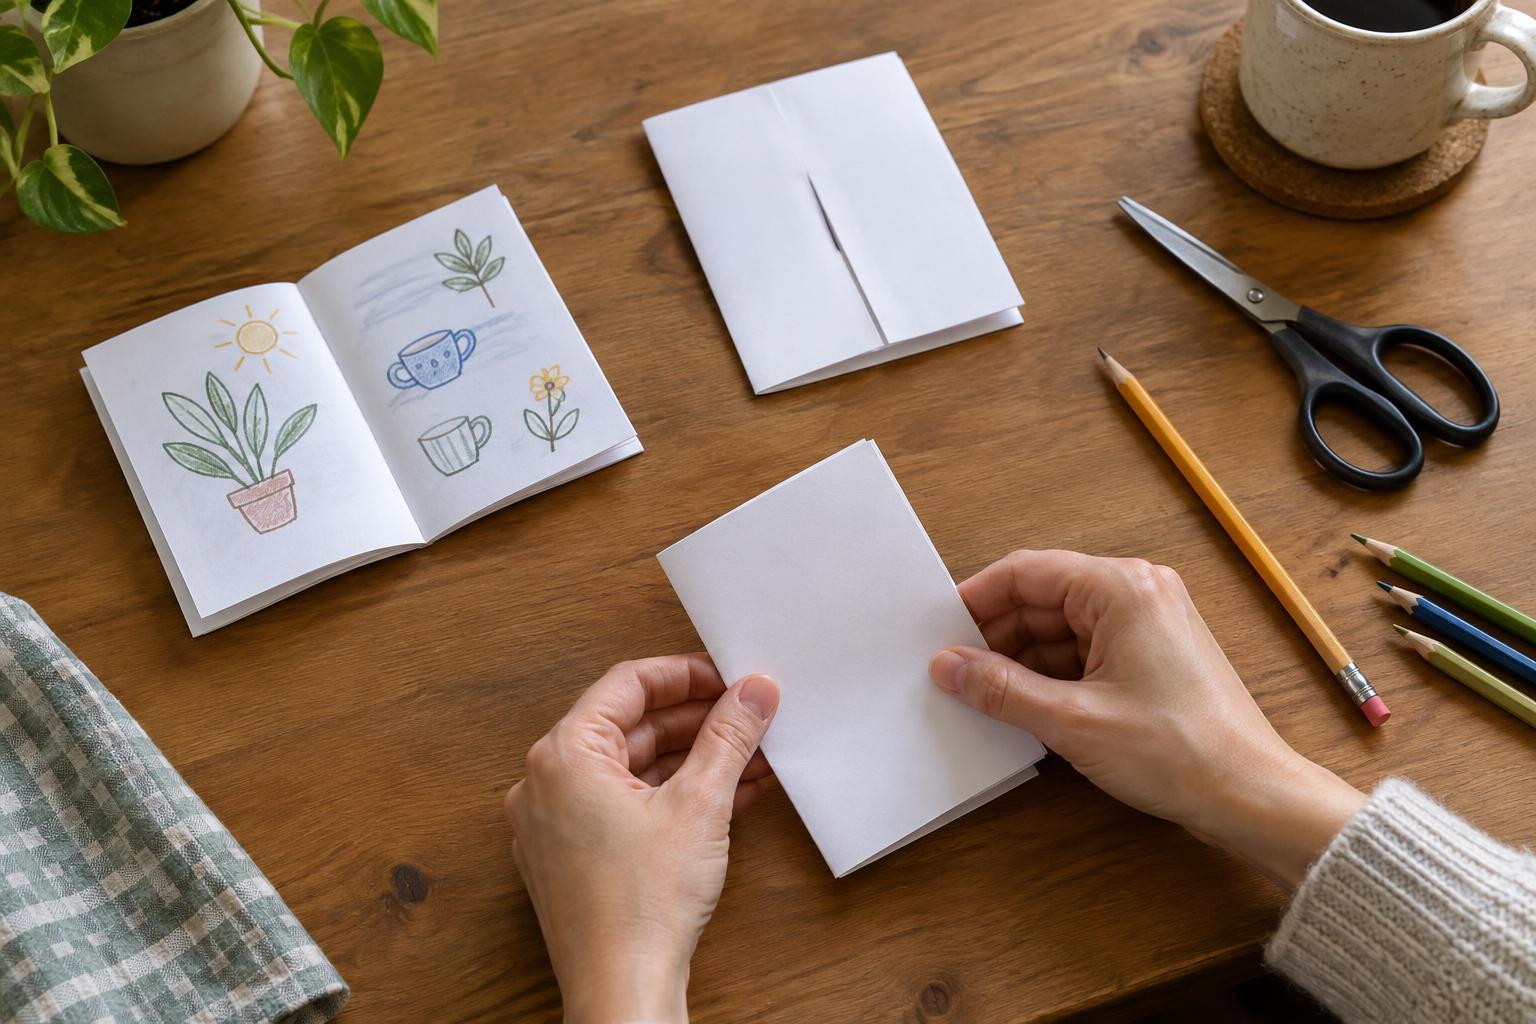
A one-sheet zine is a tiny booklet made by folding a single piece of paper and cutting one short slit. It is a friendly format for a first project: you can finish an original by hand, then unfold it to make copies if you want to share it. All you need is ordinary printer paper, a pen or pencil, and scissors. A ruler can help you sharpen the creases, but your fingers will do the job.
Pick a subject that fits a small space. You might draw the plants on your windowsill, list ways you like to spend a quiet hour, make a miniature recipe collection, or tell a story about a familiar walk. A zine does not need to be comprehensive. One observation, question, or mood is enough to give its pages a sense of purpose.
Fold the sheet and make the cut
Place your paper in front of you in landscape orientation. Fold the long edges together, crease, and open it again. Next, fold the short edges together, crease, and open. Bring each short edge in to meet the vertical crease at the center, then open the sheet once more. You should see a grid of eight rectangles: two rows of four.
Keep the paper flat. Along the horizontal crease, cut from the first vertical fold line to the third vertical fold line. The slit should pass through the center of the sheet but stop at those two fold lines; do not cut all the way to either outer edge. If it helps, mark the two stopping points lightly in pencil before picking up the scissors.
Now refold the paper along its horizontal crease, bringing the long edges together. Hold the two short ends and gently push them toward each other. The slit will open into a diamond shape. Keep pushing until the sections come together, then flatten and fold them into a booklet. It may take a little adjusting the first time. Once it sits comfortably in your hand, you have a front cover, a back cover, and six inside pages.
Plan pages without guessing their order
The flat sheet can be confusing: some panels will appear upside down, and the reading order is not obvious at a glance. Work with the folded booklet first. Number its pages lightly in pencil, starting with the front cover and turning pages as a reader would. Then unfold the sheet and use those numbers as your map. An arrow on each panel can also remind you which way the top of the page should face.
Give each page one job. The cover can introduce your subject, while the first inside page offers a beginning or invitation. Middle pages might hold a sequence of drawings, a short list, or one thought per page. Use the final inside page to close the idea, and leave the back cover for a small note, a doodle, or simply some breathing room. These are options, not rules; part of the pleasure of a zine is deciding how its pages should flow.
Make it readable, then make it yours
Because the finished pages are small, start with fewer words than you think you need. Leave a little space around writing and important details, especially near folds where the paper may not lie perfectly flat. A bold heading, a repeated shape, or one color used throughout can make separate pages feel connected. If drawing feels intimidating, try handwriting, collage from paper scraps, simple patterns, or a mix of all three.
Do one quick test before adding your final details. Fold the zine, turn every page, and check that nothing is upside down or hidden in a crease. Pencil marks are easy to revise; ink can come later. A slightly uneven line or an unexpected empty patch can add character, so aim for a zine you enjoy reading rather than a flawless object.
Keep the original or pass it along
Your first zine can be a one-off, tucked into a notebook or given to a friend. To make more, unfold the finished original, copy the full sheet, and fold and cut each copy in the same way. Try a test copy first to check that any text near the edges remains visible. You can also start fresh with a new theme and reuse the same folding method.
The format rewards small experiments. Change the paper color, build a zine around a single drawing, or make a series about ordinary things you notice during the week. Each one begins with the same sheet, but what you put inside it is entirely yours.