Start with what you have
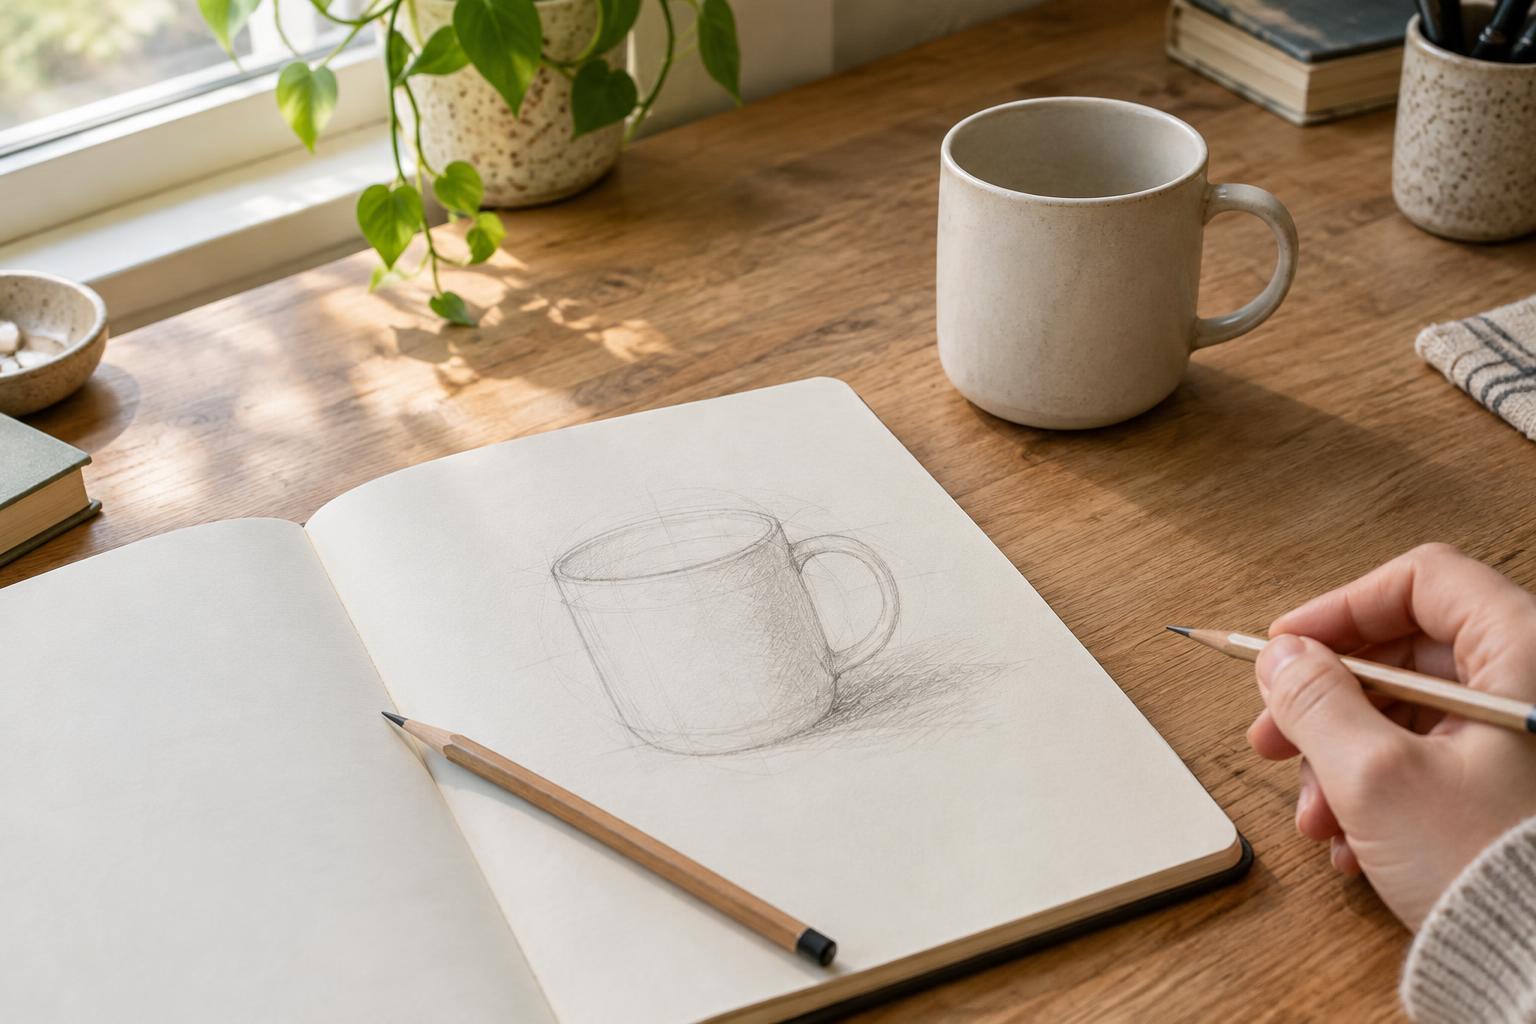
A pencil and notebook are enough to begin. An ordinary writing pencil works well, and any notebook with pages you enjoy using will do. You can add an eraser if you like, but you do not need a set of drawing pencils or a dedicated sketchbook. Keeping your supplies simple makes it easier to start when you have a spare ten minutes.
Choose a small, familiar object for your first drawing: a mug, a shoe or a piece of fruit. Place it where you can see it clearly and leave it in one position while you sketch. Drawing from something in front of you gives you a shape to observe rather than one you have to remember. If a whole object feels daunting, draw just its handle, edge or shadow.
Get comfortable making marks
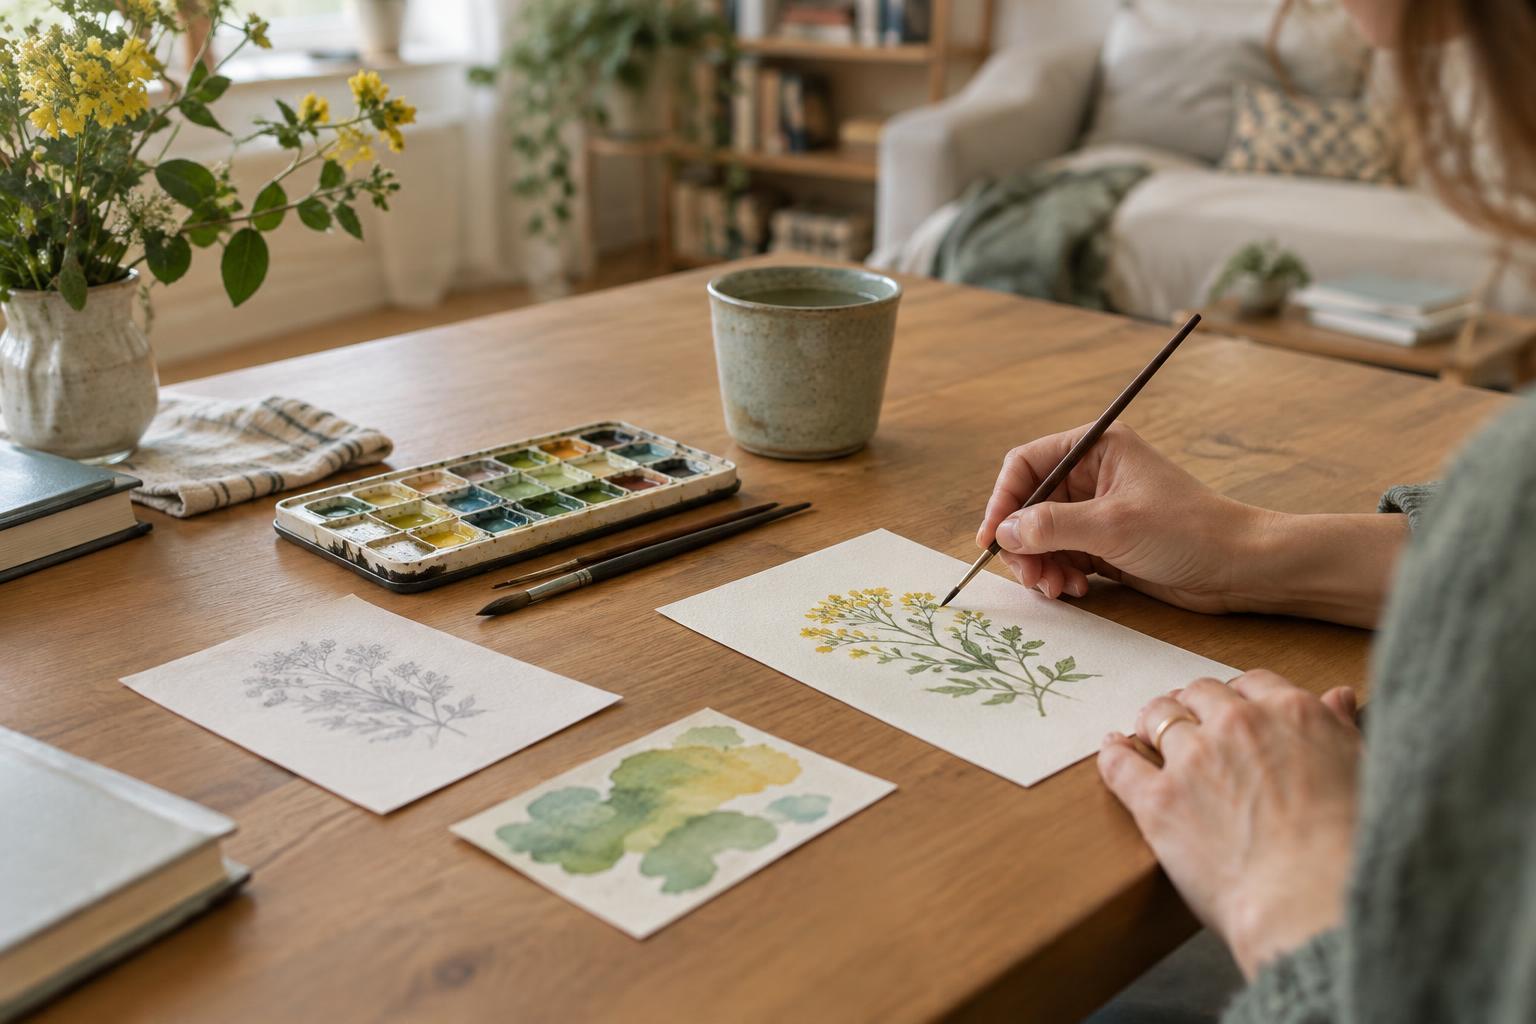
Before trying to make a finished sketch, spend a page testing your pencil. Draw a few straight lines, slow curves and loose circles. Then make marks with the side of the pencil tip as well as its point. Try pressing lightly, then a little more firmly, to see the range of tones you can make. This is not a test of neatness; it is a way to get used to the tool in your hand.
A light touch is useful at the start of a drawing because it lets you adjust a line without fighting a dark outline. You might find it easier to move your whole hand and arm for longer lines, rather than guiding every mark with your fingers. Turn the notebook when a curve feels awkward. Small changes in how you hold the page or pencil can make drawing feel more comfortable.
Build the sketch from big shapes
Look at your subject for a moment before you draw. Ask yourself what simple shapes sit underneath its details. A mug might begin as an oval for the opening, a rounded rectangle for the body and a loop for the handle. Make those shapes lightly, leaving space around them on the page. They are guides, not parts that must remain visible in the final sketch.
Next, compare the parts with one another. Is the handle taller than half the mug? Is the opening wider than the base? Notice where one edge lines up with another. Adjust the large shapes before adding details such as a rim or a pattern. If a line seems wrong, you can draw a better one beside it and erase the first later. Sketching is often a series of useful corrections, not a single perfect pass.
Use light and shadow to give it form
Once the outline makes sense to you, look for the lightest and darkest areas. If one side of your object is in shade, add a few gentle pencil strokes there. Keep the brightest areas mostly untouched. You can shade with short lines that follow the object’s shape, or with soft strokes laid close together. Try one method, then another, and see which helps you describe what you see.
You do not have to shade every surface. A dark mark beneath an object can suggest that it rests on a table, while a darker area inside a mug can show its depth. Step back from the notebook occasionally to check the overall effect. If the drawing looks too busy, leave some areas alone. The goal is to make the object readable, not to account for every change in tone.
Make the notebook a place to practice
A notebook is especially helpful because it keeps your attempts together. Instead of treating each page as a display piece, use it to try one thing at a time. On one page, draw several cups from different angles. On another, focus only on curved lines or shadows. Give yourself permission to stop after a quick sketch; a short session still gives you something to notice next time.
When you finish, look at the page with curiosity rather than deciding whether it is good or bad. Perhaps the proportions are closer than you expected, or one shaded area works well. Perhaps the object appears tilted, which gives you something specific to check in the next drawing. Put the pencil and notebook somewhere easy to reach, and choose another everyday subject when you are ready. The habit begins with returning to the page.