Start with a small, simple project
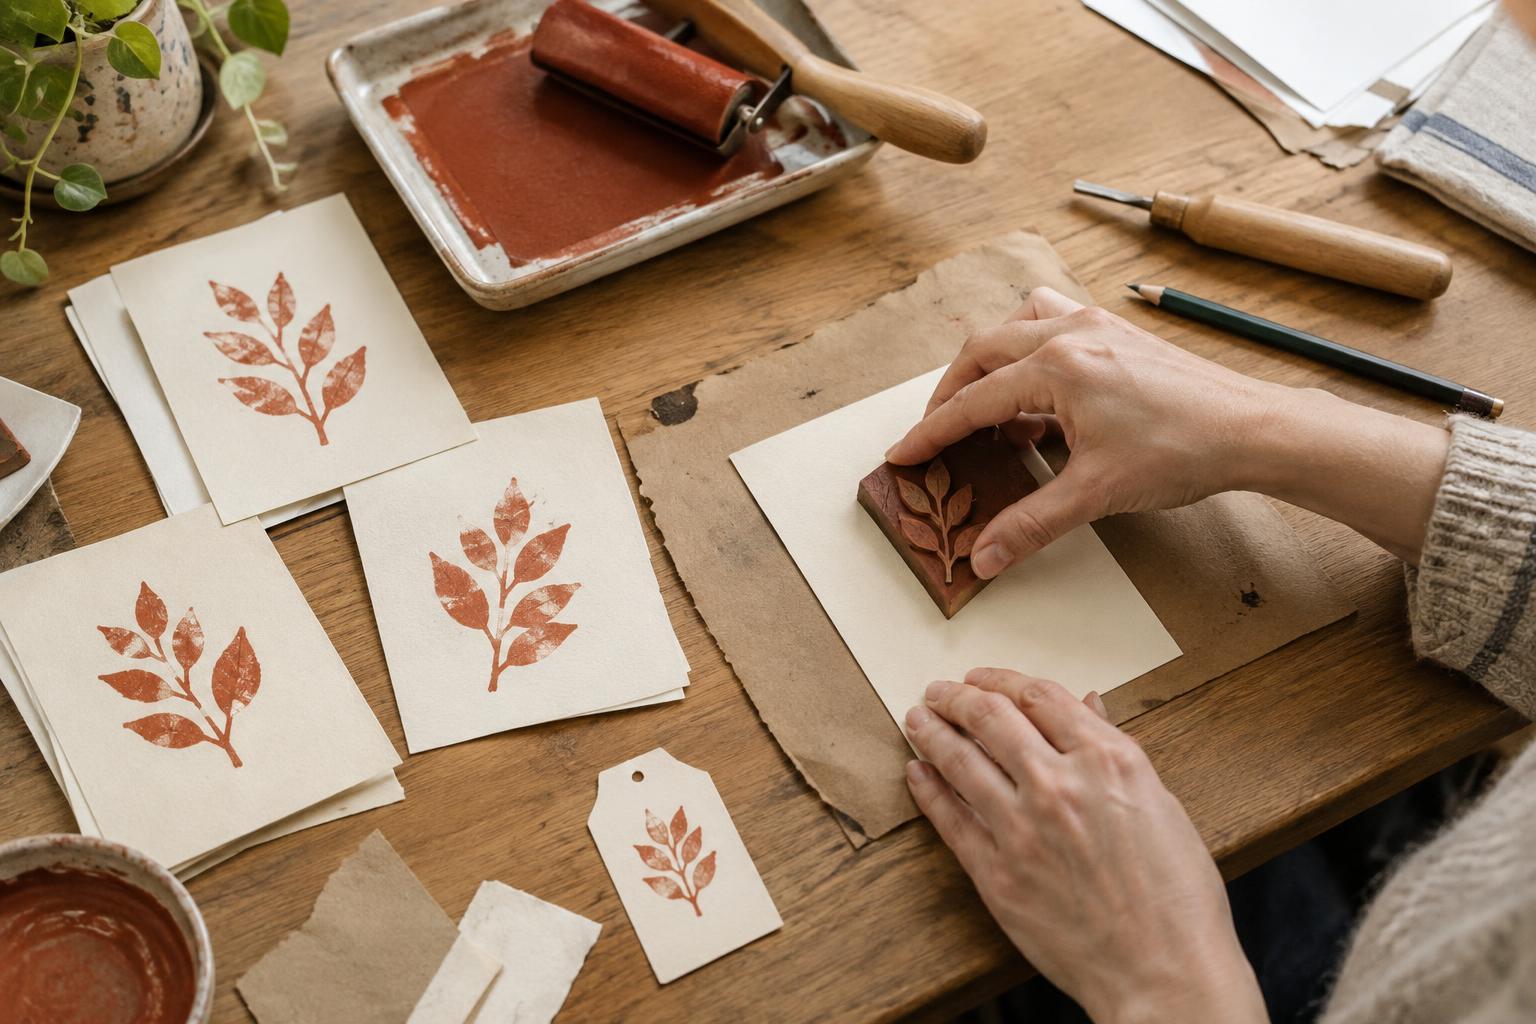
Block printing is a way to make an image by transferring ink from a raised surface onto paper. You cut away the parts you want to leave blank, ink the surface that remains, and press it against the page. Once the block is made, you can use it again for a set of cards, a patterned sheet of wrapping paper or a run of small prints.
For a first attempt, choose a design that fits comfortably in the palm of your hand. A leaf, star, arch or simple flower gives you room to learn how the tools behave. Bold shapes usually print more clearly than fine details. If you want to include a letter or word, remember that the image will print in reverse: draw it backward on the block, or save lettering for a later project.
Gather materials and prepare your space
You’ll need a soft carving block, a carving tool with a suitable blade, block-printing ink, a brayer (a small roller), paper and a smooth surface for rolling out ink. A washable, water-based ink can make cleanup easier, though you should check the instructions for the particular product you choose. A spoon or clean flat object can help you apply pressure if you’re printing by hand.
Set up on a sturdy table with a protective sheet underneath. Keep scrap paper nearby for test prints and place your finished sheets somewhere they can dry undisturbed. Smooth, fairly sturdy paper is a forgiving place to begin; very thin paper may wrinkle when you rub the back, while heavily textured paper may leave gaps in the image.
Carving tools have sharp edges. Work slowly, keep your free hand out of the blade’s path, and cut away from your body. If you would rather skip carving for now, you can still try the printing process with a ready-made stamp or a simple shape cut from craft foam.
Draw and carve the block
Sketch your design directly on the block with a pencil, or draw it on paper first and transfer it according to the block maker’s directions. Think in two areas: the parts you want to print and the parts that should remain the color of the paper. Lightly mark the areas to remove so you don’t carve away a line you meant to keep.
Begin by cutting around the main shape, using short, controlled strokes. Remove a shallow layer from the blank areas rather than trying to dig deeply in one pass. Rotate the block as you work so your hand stays in a comfortable position. Small marks left in the background can create interesting texture, but if you want a clean field around your image, carve enough space that the roller is less likely to touch it.
You do not have to finish every detail before printing. A first proof will show what your drawn lines cannot: where ink is catching, which parts look too crowded and whether a shape needs more contrast. You can carve a little more after testing, but you cannot put removed material back.
Ink, print and adjust
Put a small amount of ink on your rolling surface and move the brayer back and forth until it carries a thin, even coat. Roll it across the raised parts of the block. If ink collects in thick ridges, use less; an overloaded block can blur the edges of your design. Place scrap paper over the inked block, or lower the block carefully onto the paper, and apply steady pressure across the whole image. Lift the paper from one edge to reveal the print.
A patchy impression might mean the ink coat was too thin or the pressure uneven. Soft, filled-in details may mean there was too much ink. Change one thing at a time and make another test print. Once you like the result, use the same amount of ink and a similar printing motion for each copy. Slight variations are part of the character of hand printing, not a sign that the project has gone wrong.
Finish without rushing
Lay prints flat until the ink is dry, following the ink maker’s guidance before stacking or handling them closely. Clean the block, roller and tools as directed for your materials, and dry them before putting them away. Store sharp carving blades securely.
Your first block can do more than make one finished picture. Try repeating it along the edge of a folded card, spacing impressions across a sheet, or printing in one color on several kinds of paper. Keeping the design simple lets you pay attention to placement, pressure and rhythm—the skills that make the next project feel easier.